
DIY Little House Money Box ! A beautiful idea for a gift to our beloved young frineds!
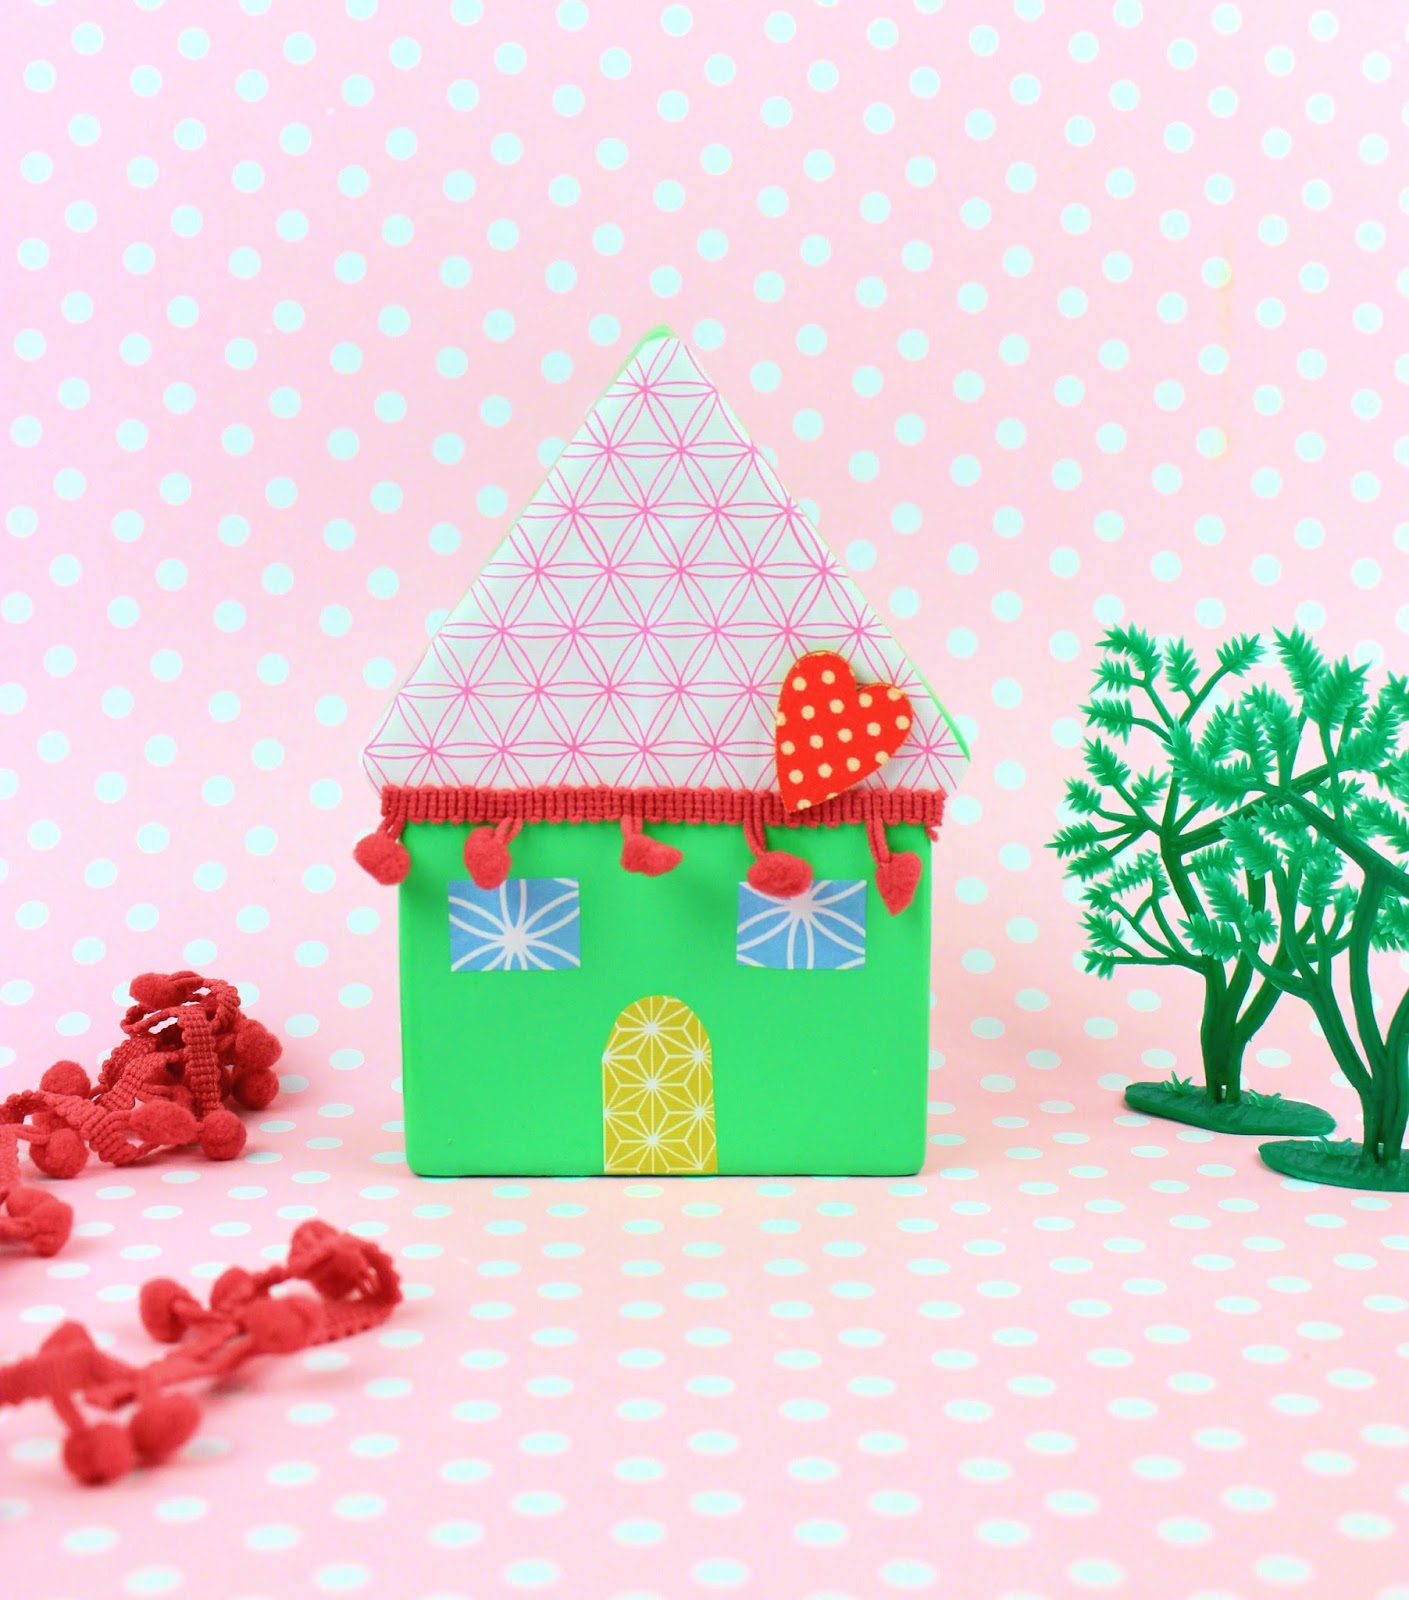
September means except back to school, many birthday parties. Too many good friends have their birthday and we always try to celebrate with them! As you may guess this is also a great opportunity for crafting, because we always want to prepare something handmade even if this is just a wishing card! This time my princess has a party to join and her best friend is also going to be 7! Big celebration as you may guess! So, papers and glue and we managed to create something cute just for her! A Little House Money Box in shabby chic style!
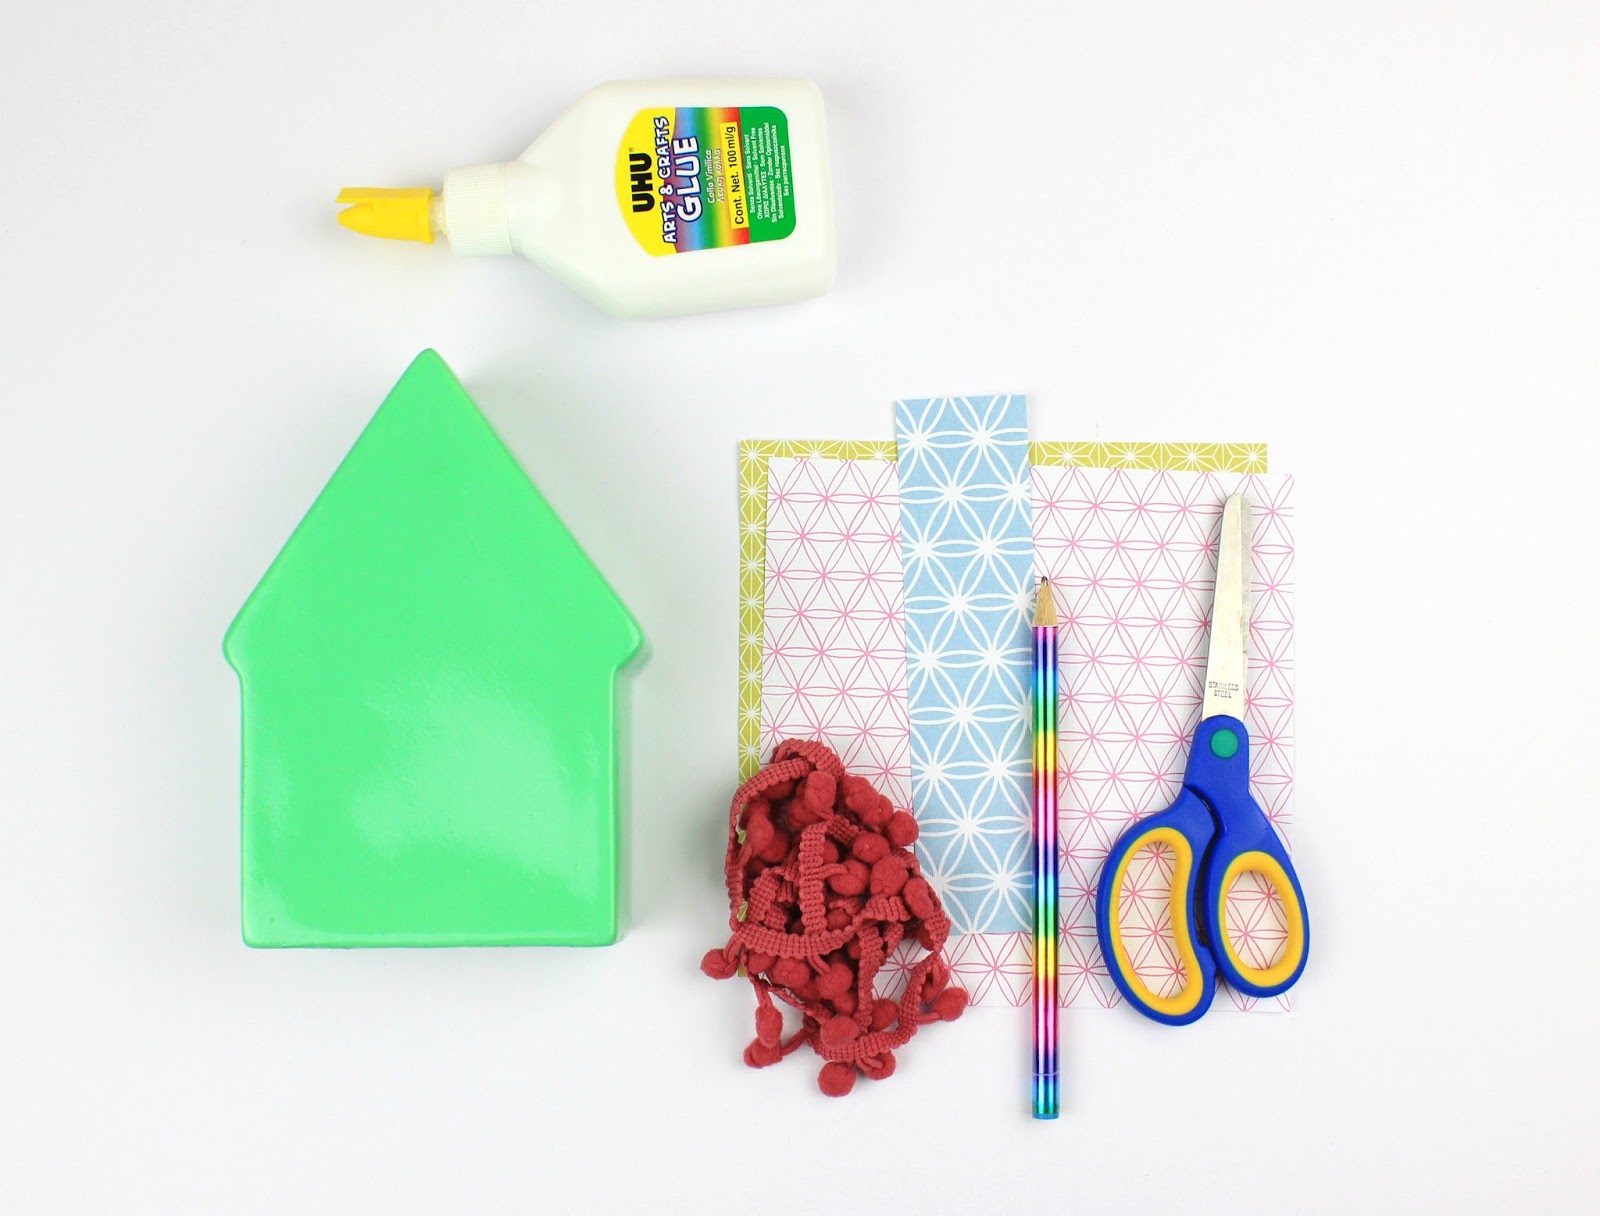
Materials for our Cute Ceramic House Coin Box:
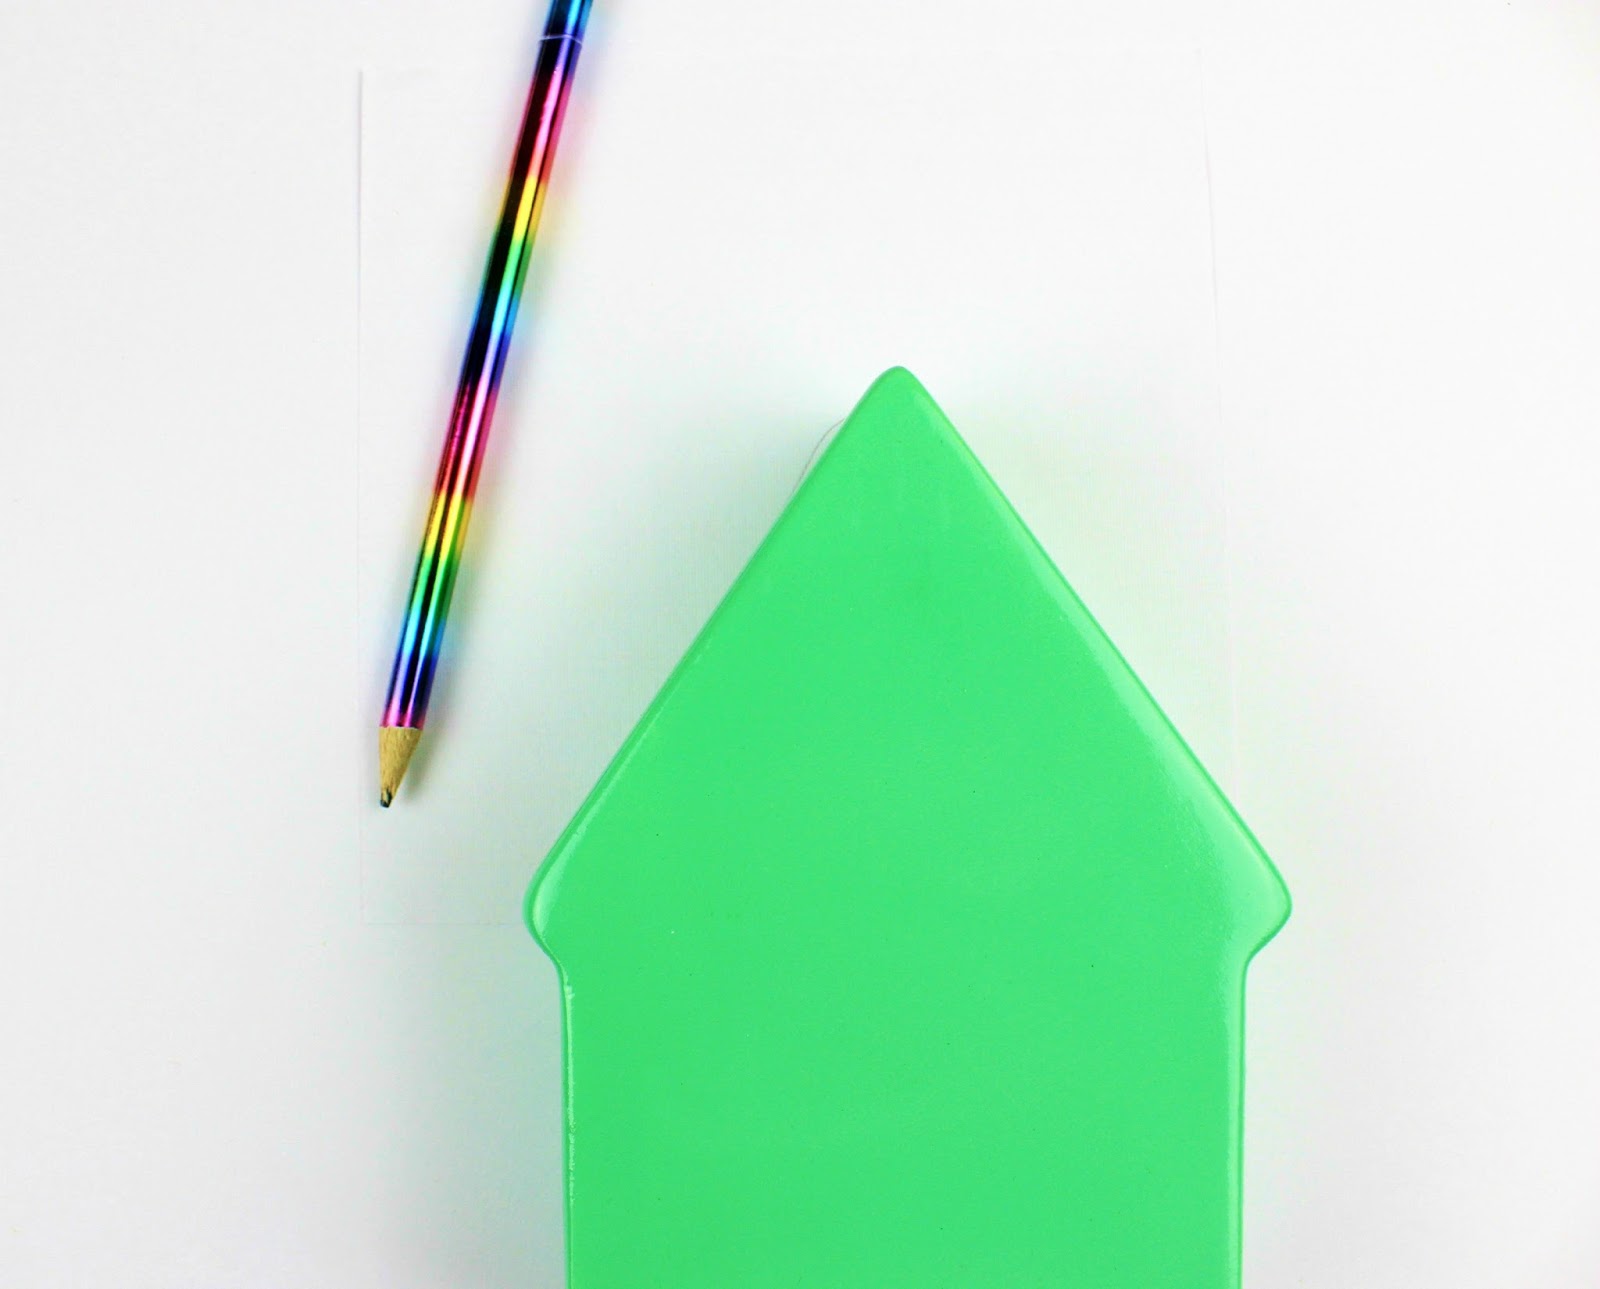
– Ceramic Money Box (we got this one from Tiger Stores)
– Scrapbooking Papers
– Scissor
– Pom Pom garland
– Pencil
– White Glue
The procedure is really funny and can be made also from kids. Actually we are going to do decoupage and decorate our money box in order to be more similar to a house. This is actually what it came up on my mind when I first saw this money box. It was so cute, in one of my favorite colors bright green, but again without to much color! And we decided to make it more cutest with papers and pom pom of course!!! Ok… I have to check this thing with me…I have pom pom almost in every craft so far!!Anyway… we also found this beautiful Scrapbooking Papers , which were not that thin but perfect for Origami crafts, in the same store and they were also just perfect for our craft!
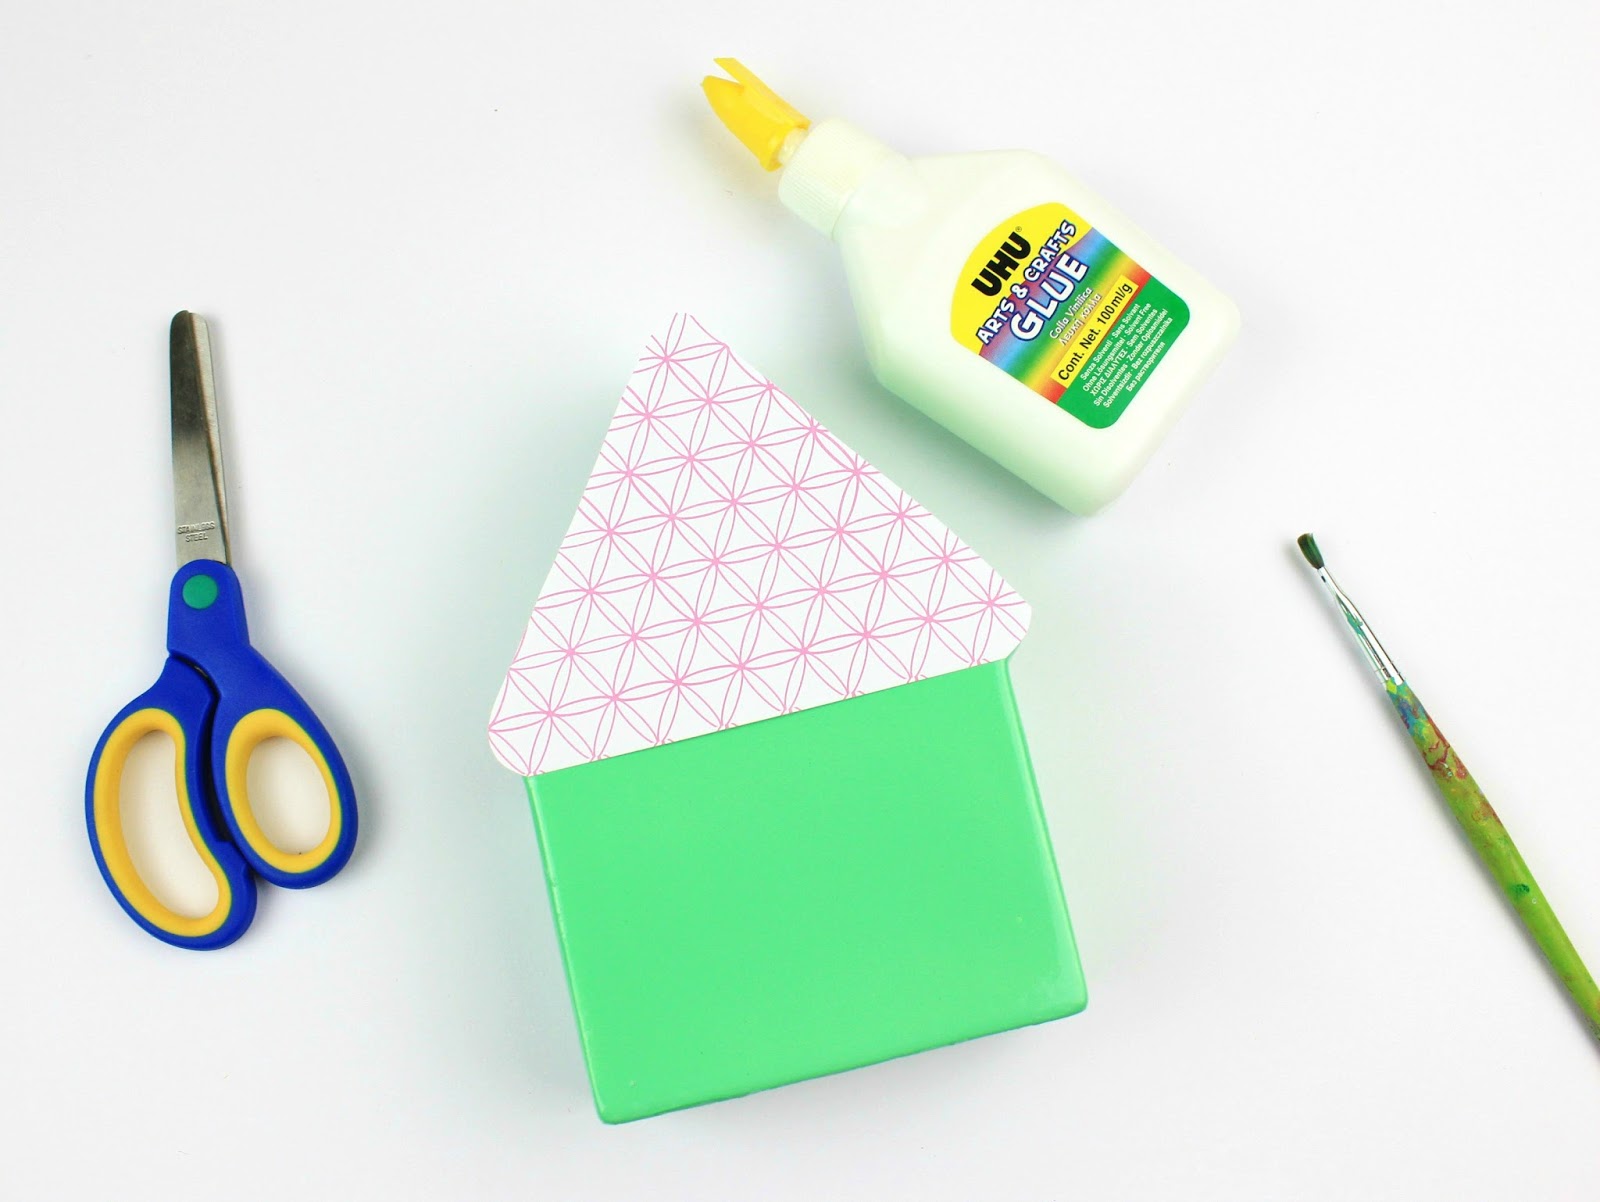
Just decide which papers you will use and cut them in a way that you will create a door and windows and a tile roof. Add white glue with a paint bruch on the back of your paper and also on the ceramic house and start the decoration.
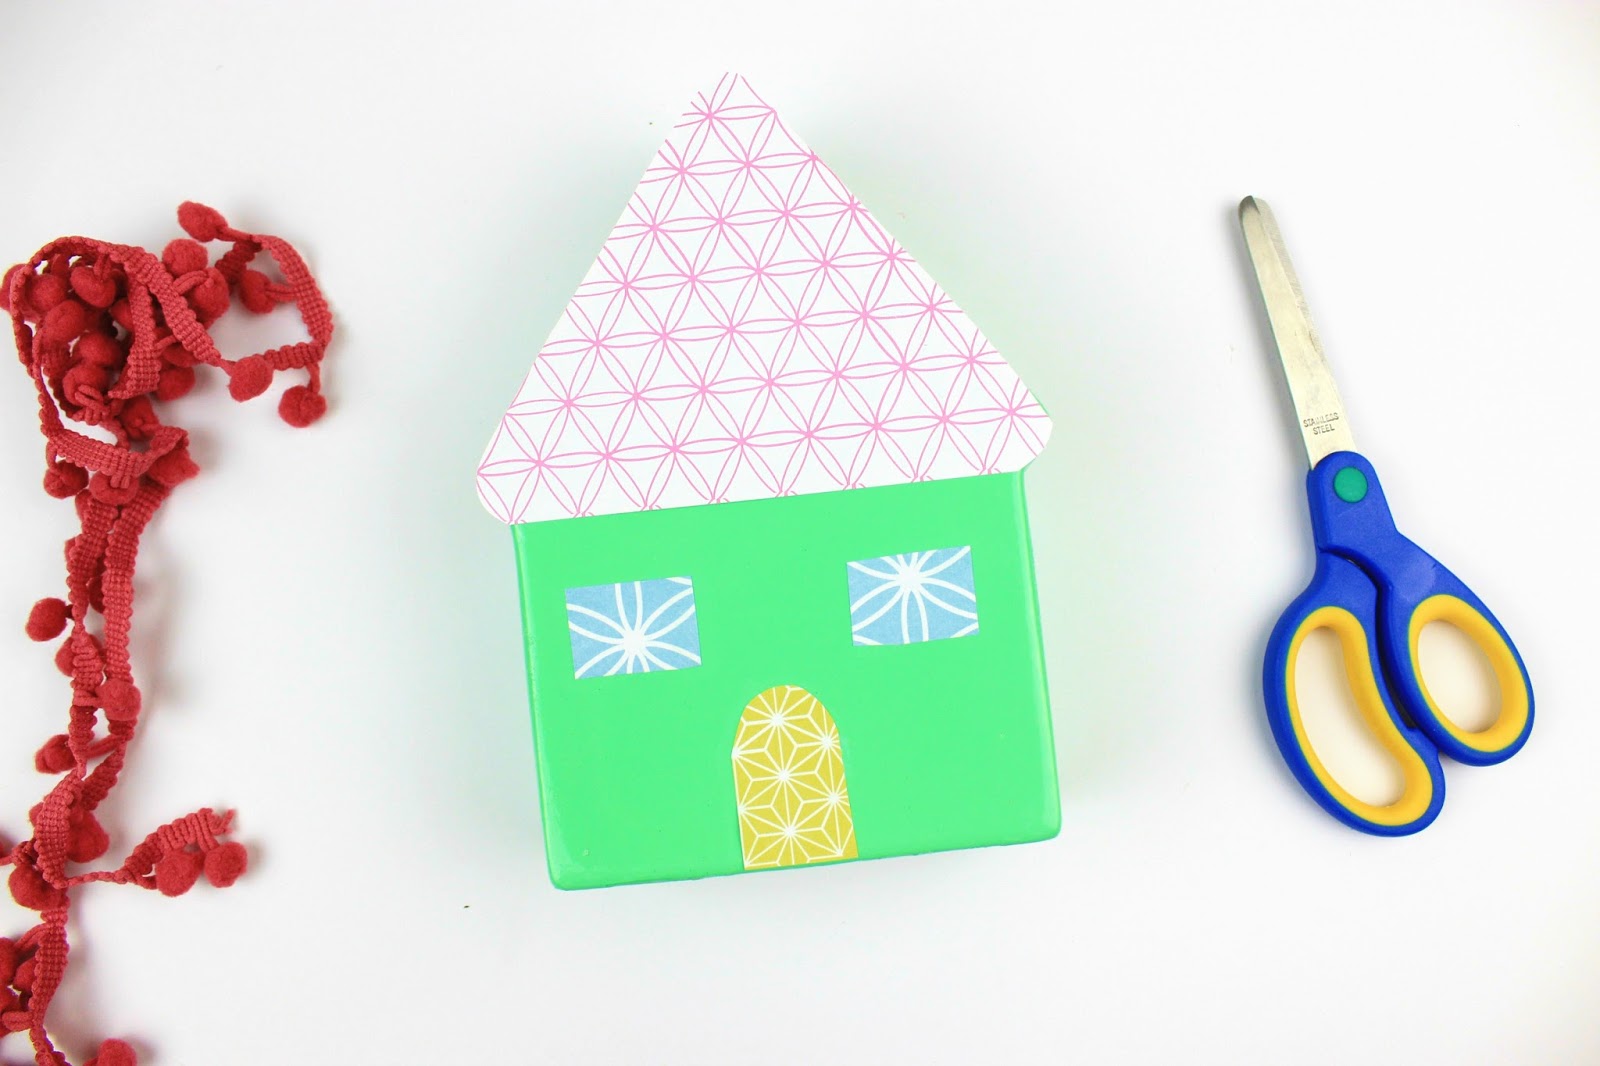
Add more white glue on the top of the paper in order to be more stable and of course try to glue your paper on the ceramic with the less crinkles. If however your paper is not that tight, try to make it with your hands smootly or with a plastic card.
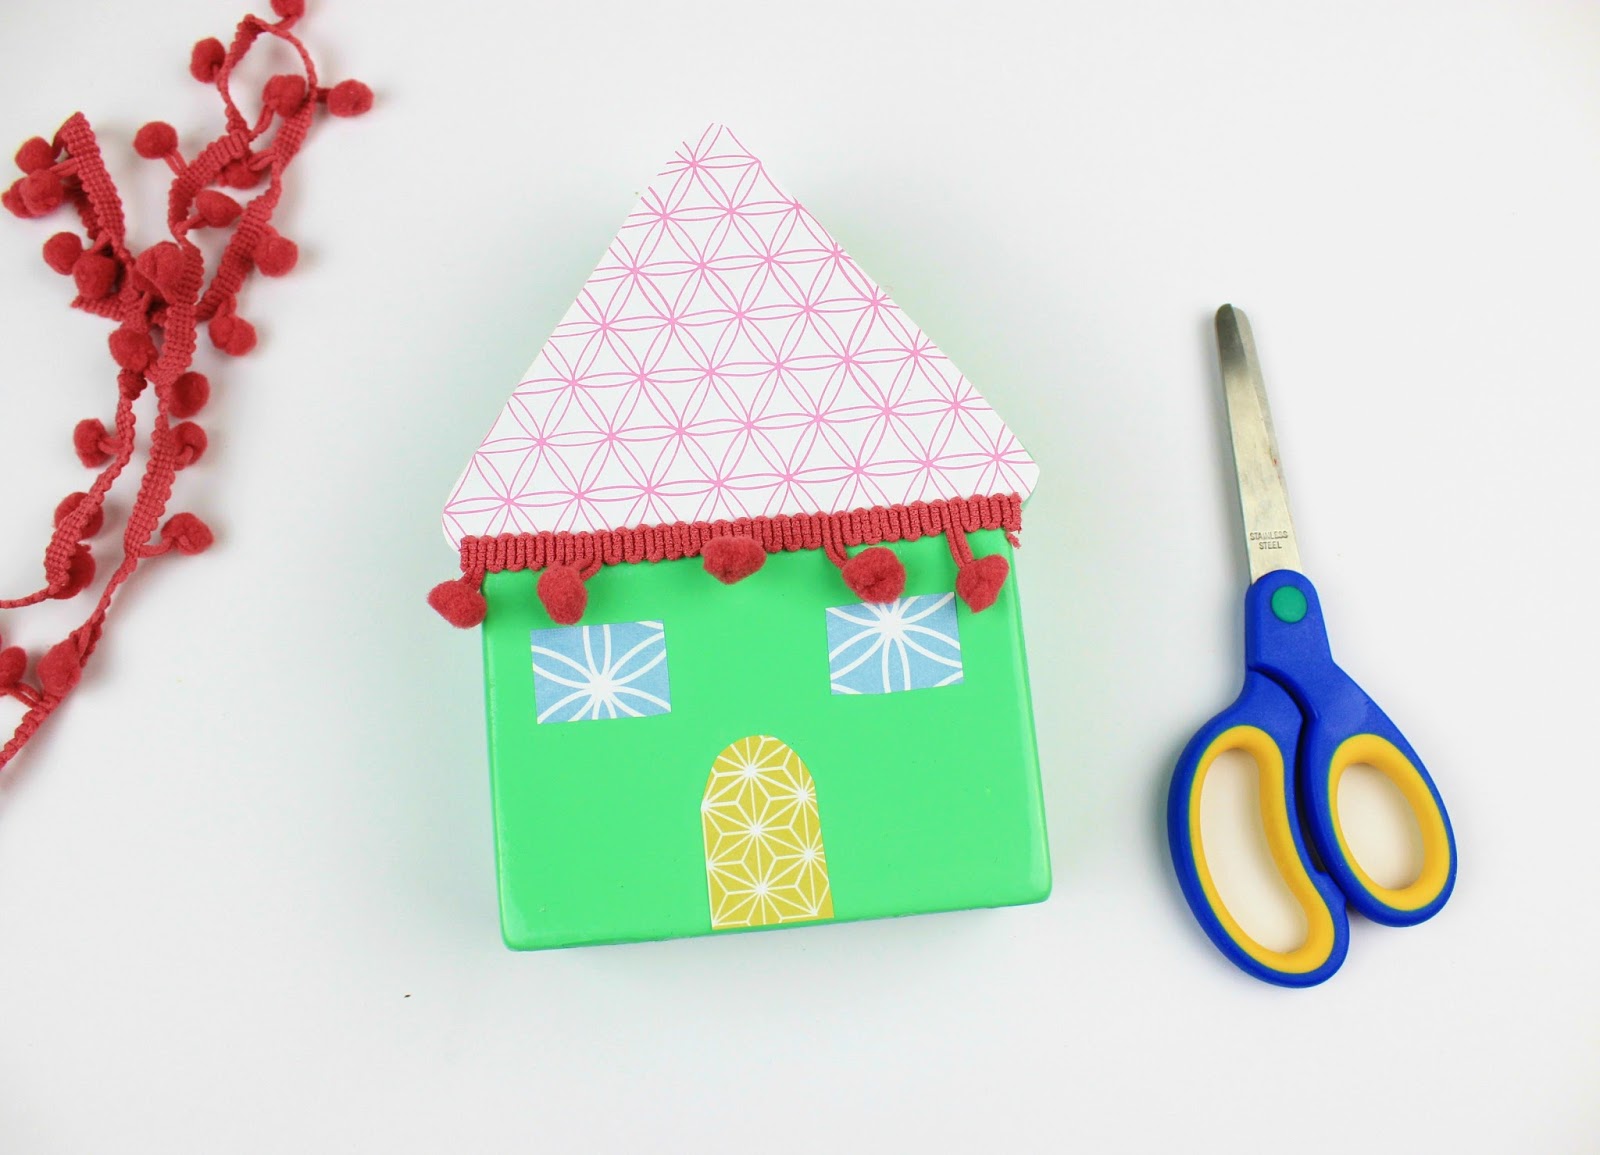
Pom Pom garland was a must have for this craft (as in the most I do lately!!) and now home looks more…like my taste! Allow it to dry and it is ready!
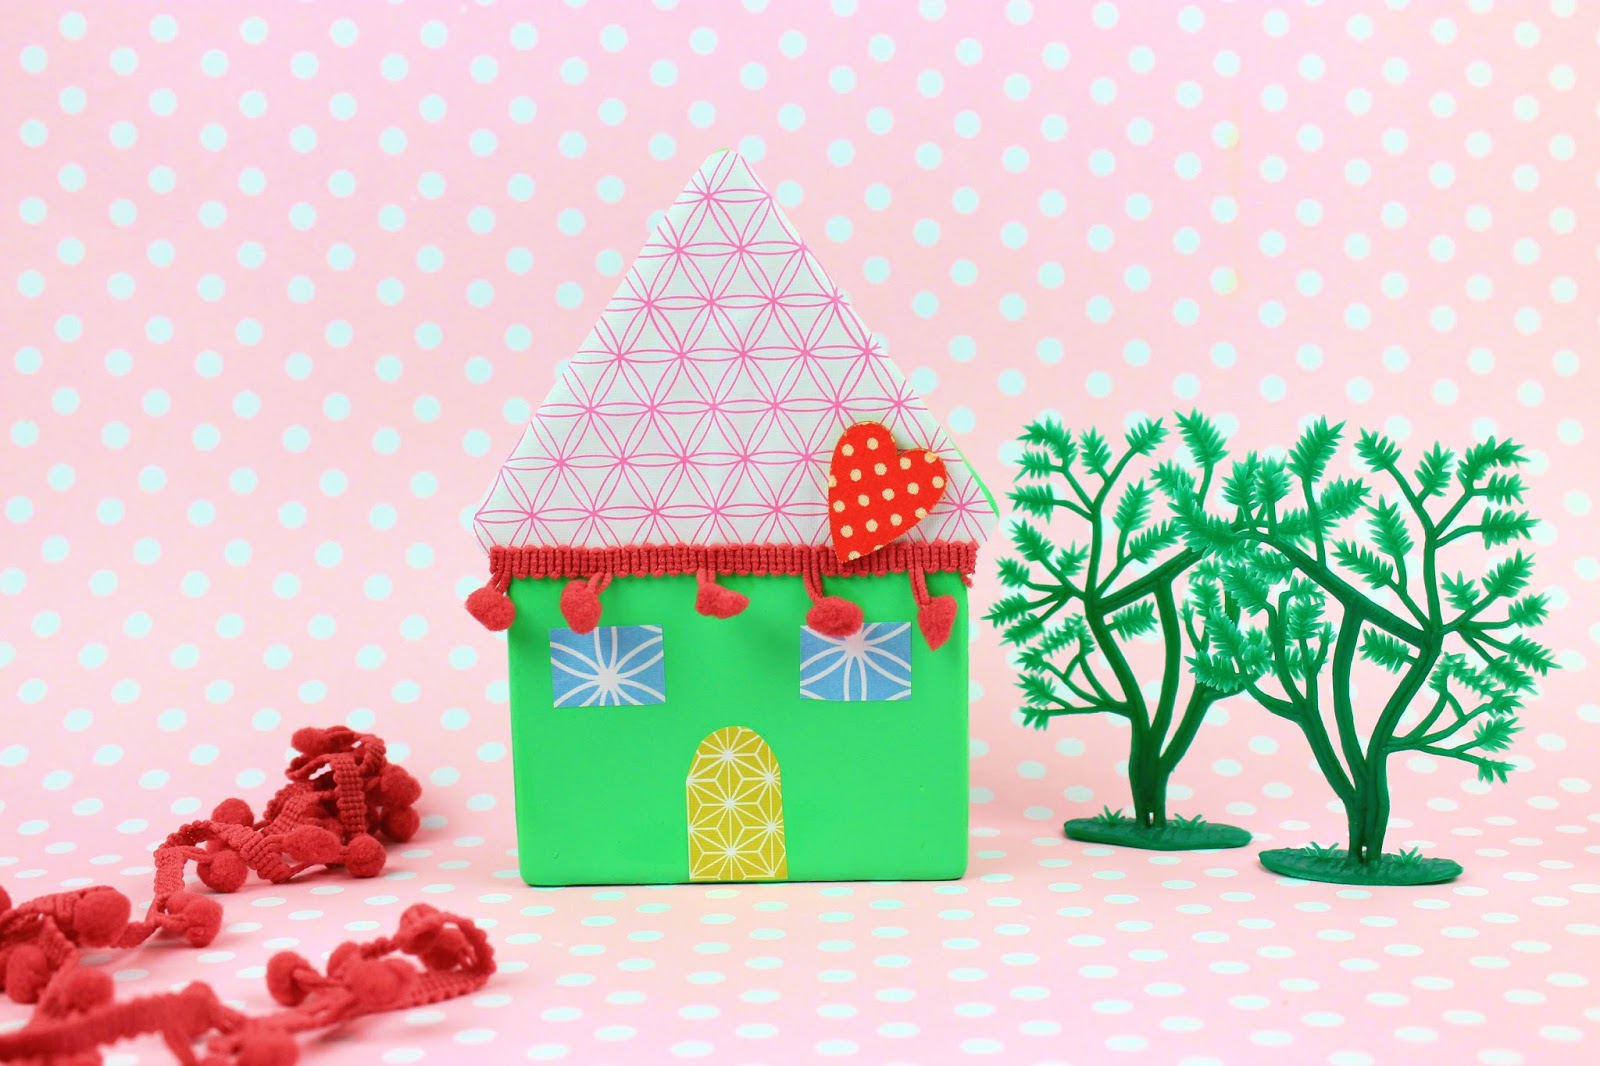
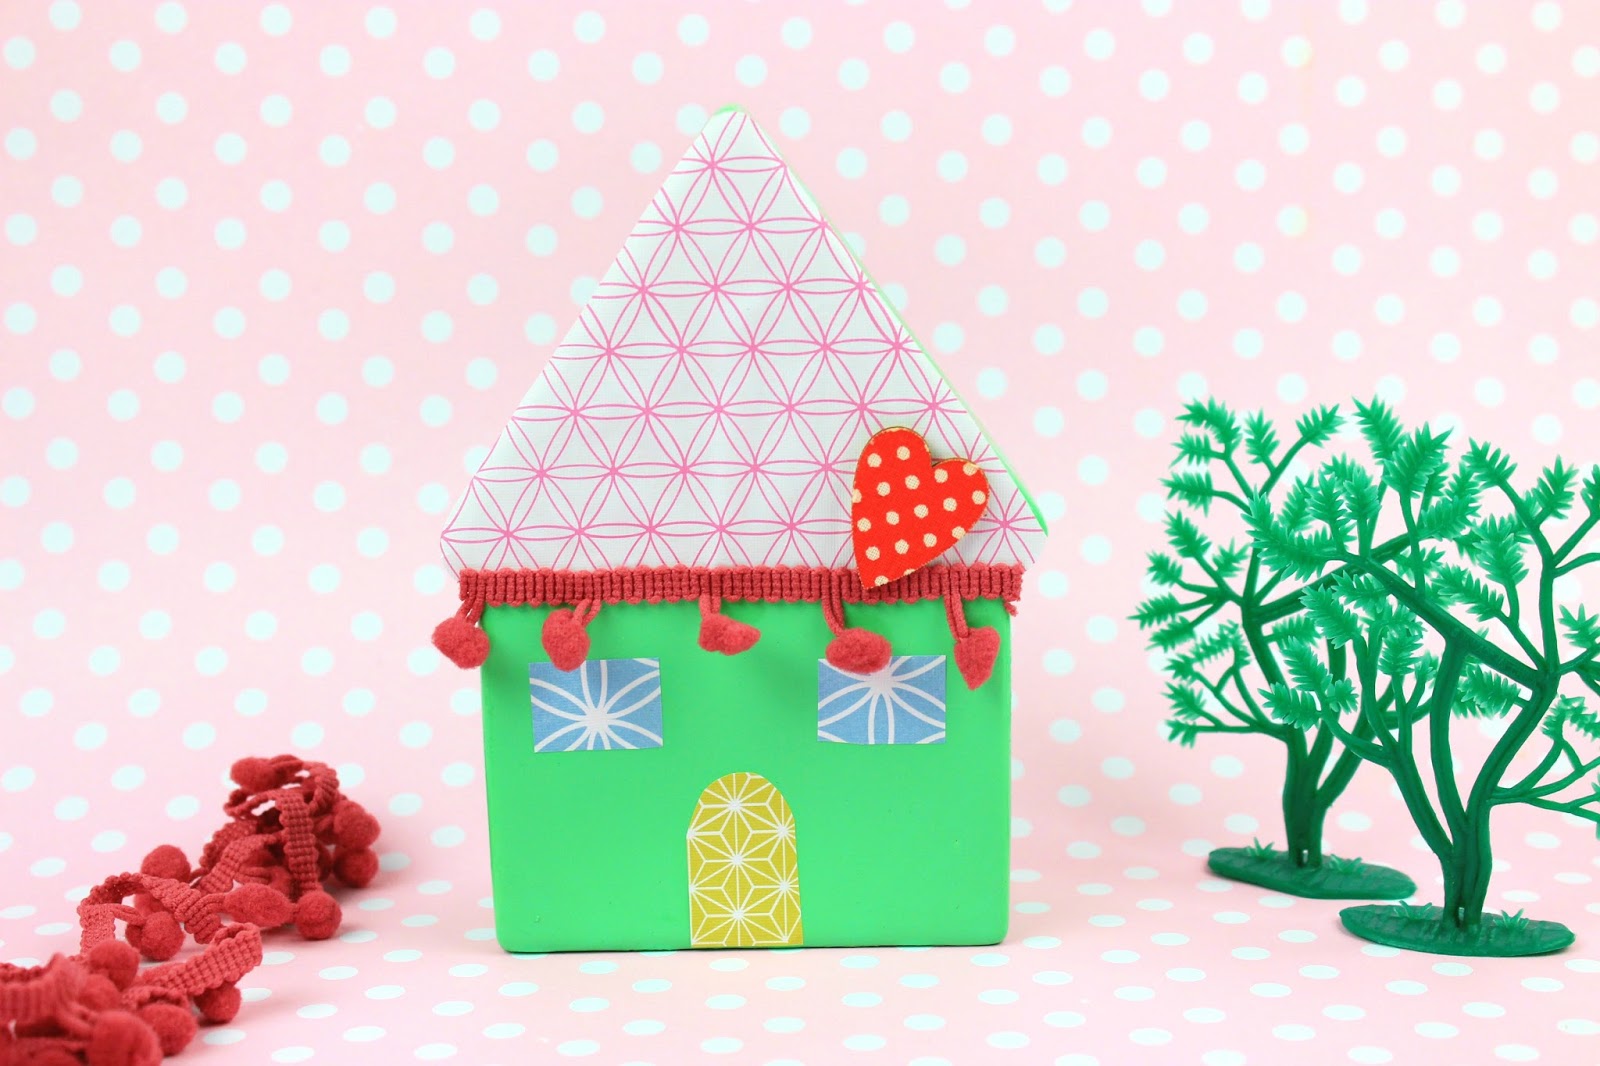
Ok… my princess wanted even more cute, so a polka dot wooden heart was now decorating the tile roof! Actually, I really liked this detail!
I have also prepared once more little home for my princess since we are trying now to understnd what money are and of courde how to save them, use them and not spend them without a purpose! Tough discussion of course…so any advise will be more than great!
Happy Crafting!!!!
mats mouts


20 Comments
Είναι πολύ όμορφο και πρωτότυπη κατασκευή!
Χαιρομαι που σου αρεσε! Σε ευχαριστω πολύ!
χρονια πολλα στη φιλεναδα σας! όμορφη η ιδέα σας!
καλη εβδομάδα!!
Σε ευχαριστούμε παρα πολύ κούκλα!
Πάρα πολύ όμορφο!
Σε ευχαριστω πολύ!
Όνειρο είναι! Θα μου φτιάξω ένα το ζήλεψα!
Καλές δημιουργίες!!!!
Πάρα πολύ όμορφο κι έχουμε κι εμείς πάρτι το Σάββατο! 🙂 Ευχαριστούμε ! 🙂
Σε ευχαριστω πολύ Κατερίνα! Καλα να περάσετε 🙂
Πολύ γλυκούτσικος και χαριτωμένος στολισμός του κουμπαρά! Αγαπημένο κατάστημα το tiger! Τα φιλιά μου
Χαιρομαι που σου άρεσε Σωτηρία. Σε ευχαριστώ κούκλα 🙂
Θέλω και εγώ! Άμα κάνω πάρτυ αυτό να μου φτιάξεις! Νομίζω πρέπει να πάω μια βόλτα να αγοράσω το σπιτάκι και να το φτιάξω!
Το θες με χρωμα ή μαυρο;;;; χαχαχαχα θα σου φτιάξω καλε! κάνε πάρτι εσυ και θα στο φέρω 🙂
Πανέμορφο, έξυπνο και χρηστικότατο! Το αγαπώ!
Χαιρομαι πολυ! Σε ευχαριστω κούκλα!!!
Το μήλο κάτω από την μηλιά θα πέσει.. Είναι δυνατόν να είναι παιδί σου και να μην θέλει κάτι πουά!!! 😀 😀
Είναι πολύ όμορφη κατασκευή!! Πήρες ένα απλό κουμπαρά τον έκανες μοναδικό με το στυλ που του έδωσες!!
χαχααχχα αυτό ξαναπές το…μονο που θέλεις και με glitter το καμαρι μου! χαχαχαχα
Χιλια ευχαριστω !!!
Πολύ γλυκούλι!
Σε ευχαριστω!